Tesla Wall Connector Installation
Wall Connector mounting, dedicated circuit installation, proper output setup, commissioning, and homeowner handoff for Tesla and Tesla Universal Wall Connector equipment.
Kais Pro Repairs installs residential Level 2 EV chargers, Tesla Wall Connectors, hardwired charging stations, and 240-volt EV charging outlets in Loganville and nearby communities. We plan the installation around your electrical panel, charger, vehicle, garage, daily driving, and desired charging speed.
Already bought a Tesla, Emporia, ChargePoint, Wallbox, Autel, or another home charger? We can inspect the proposed location and install it. Still choosing a charger? We can help you compare the circuit size and installation method before you spend money on equipment that may not fit your home.
The honest answer is that the price depends more on the electrical route and panel than on the charger mounted to the wall.
A charger beside a panel is usually a simpler project than a long run from a basement panel to an attached or detached garage. Concealed wiring, outdoor conduit, panel limitations, circuit length, charger output, and local permit or inspection requirements can all change the final cost.
Kais Pro Repairs offers free estimates. Send clear photos of the panel, its main rating label, the charger, the planned parking location, and the path between them so the estimate begins with real project details.
Distance from panel to charger
Hardwired charger or 240V outlet
50-amp or 60-amp circuit
Concealed cable or surface conduit
Indoor or outdoor installation
Available panel capacity
The best installation is not automatically the highest-amperage option. It is the setup that safely matches your equipment, panel capacity, parking location, charging goal, and budget.
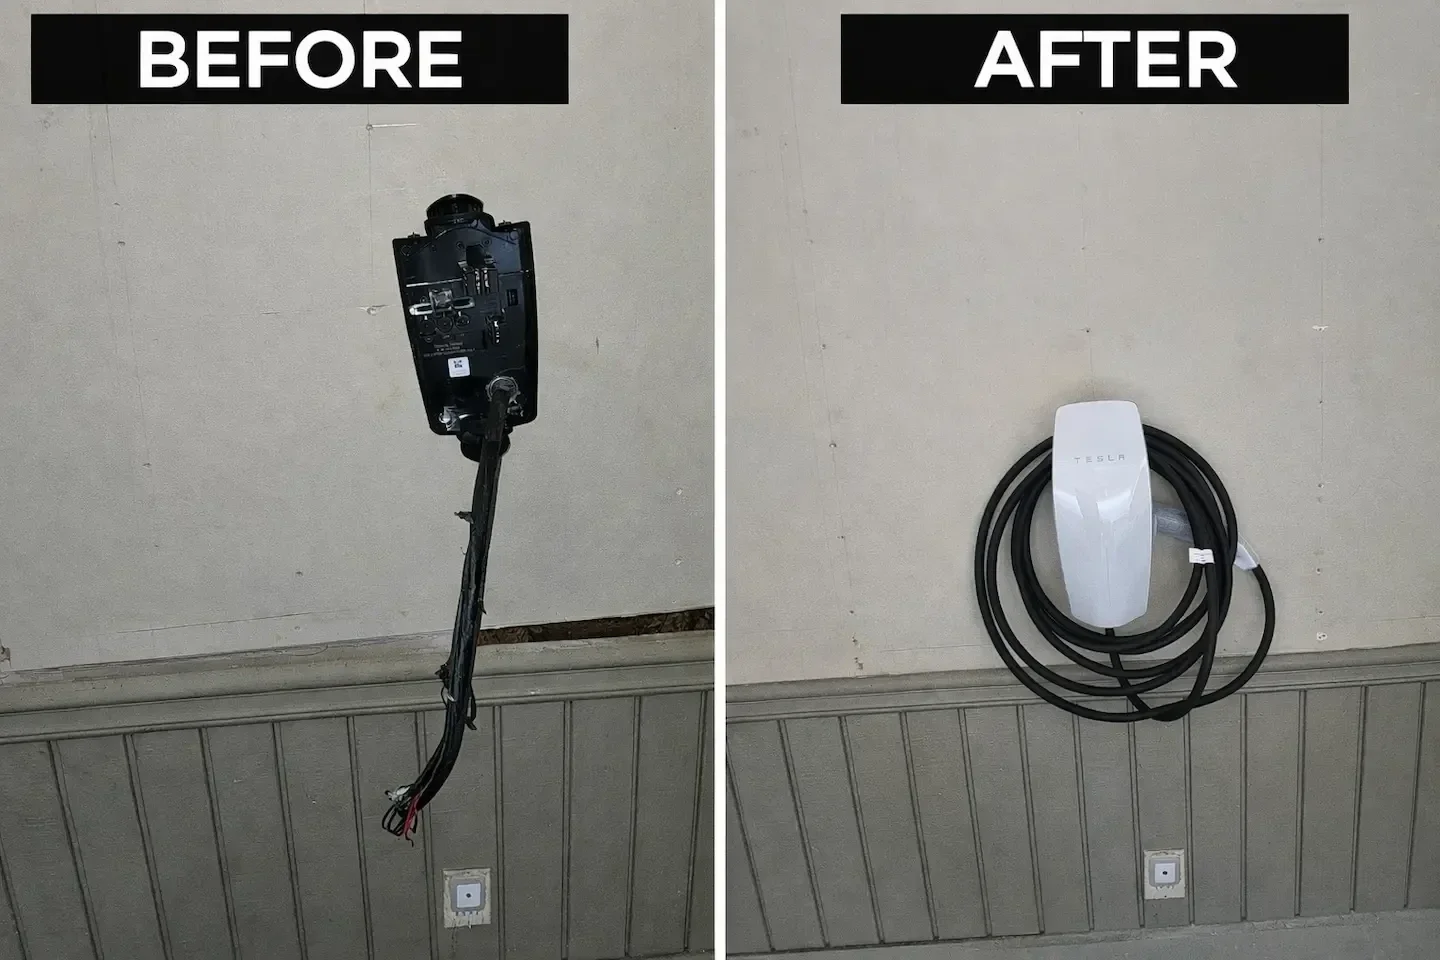
Wall Connector mounting, dedicated circuit installation, proper output setup, commissioning, and homeowner handoff for Tesla and Tesla Universal Wall Connector equipment.
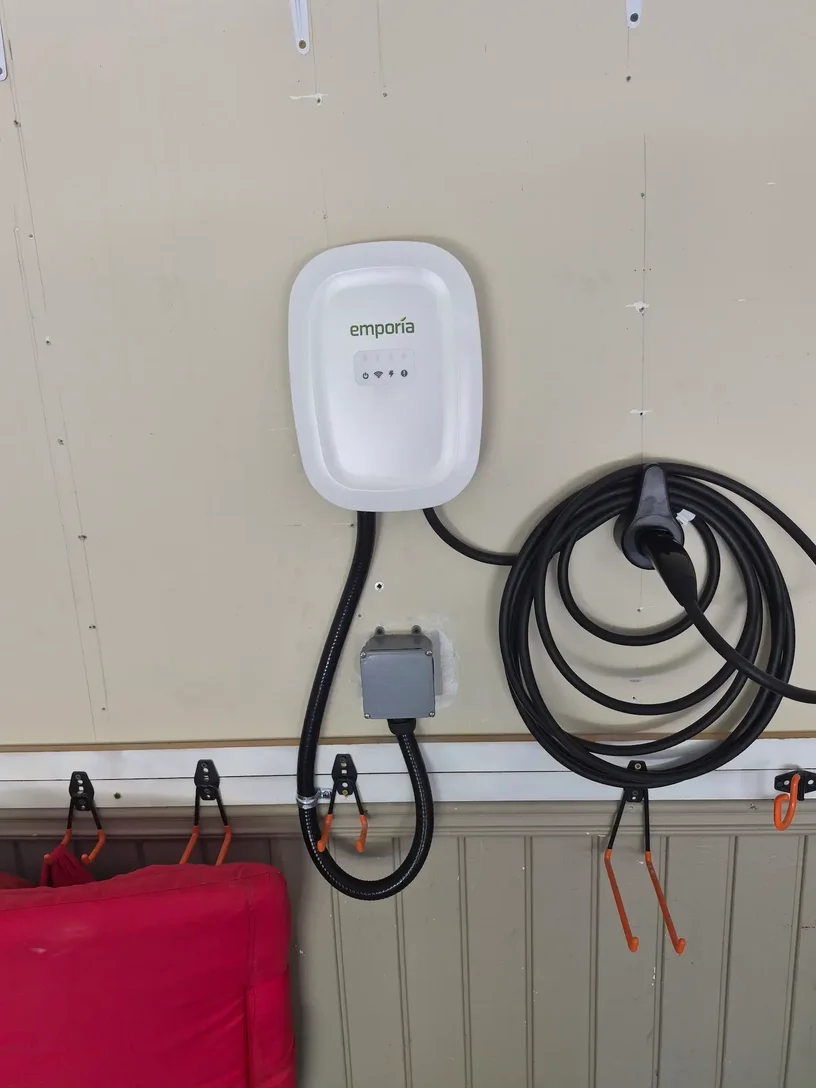
A clean permanent connection for compatible Tesla, Emporia, ChargePoint, Wallbox, Autel, and similar residential charging equipment.
Dedicated outlet installations for compatible plug-in chargers, with the receptacle, enclosure, breaker, conductors, and wiring method selected for the planned load.
We review panel condition, main capacity, existing electrical loads, breaker space, the proposed charger output, and whether a different charging plan is more practical.
Diagnosis for chargers that will not start, stop after a few seconds, display a fault light, overheat, or trip a breaker under charging load.
Practical charger placement, protected wiring routes, surface conduit where appropriate, cable-reach planning, and suitable mounting for indoor or weather-exposed locations.
A larger breaker does not make every car charge faster. Charger capability, vehicle acceptance rate, conductor ampacity, wiring method, panel capacity, and charger configuration all limit the usable output.
| Decision | 50-amp circuit | 60-amp circuit |
|---|---|---|
| Typical maximum continuous charging | Up to 40 amps when the complete installation and equipment are rated for it | Up to 48 amps when the complete installation and equipment are rated for it |
| Common homeowner fit | Reliable overnight Level 2 charging for many vehicles and driving routines | Higher-output charging when the charger, vehicle, panel, and wiring can use it |
| Installation choice | May be hardwired or plug-in depending on the charger and final design | Often hardwired for equipment configured to deliver 48 amps |
| Panel review | Required before the circuit is selected | Required before the higher continuous load is approved |
See the full 50 amp vs 60 amp EV charging comparison before choosing a circuit based only on charging speed.
Hardwiring removes the plug-and-receptacle connection and often fits permanent or higher-output charging installations. It can create a cleaner finished installation when equipment and panel capacity support it.
A plug-in setup can provide flexibility, but the outlet is not an ordinary convenience receptacle. The receptacle, enclosure, connection torque, circuit, and charger must be suitable for long-duration charging.
Compare hardwired vs plug-in EV chargers for a closer look at both options.
The homeowner was relying on a standard 120-volt charging cord and wanted dependable overnight charging. The main service and garage panel were reviewed before the circuit size and route were finalized.
This is one completed project, not a universal design. Every home still needs its own panel, route, equipment, and load review.
The job begins with the home and charging goal, not with a guessed breaker size.
We identify the brand, model, maximum output, connection type, mounting needs, and manufacturer requirements.
We review the main rating, existing loads, breaker space, panel condition, and the charging output the home can support.
We measure the circuit path, decide where wiring can be concealed, and plan protection for exposed or outdoor sections.
The scope is based on the circuit length, wiring method, charger type, mounting location, and any electrical limitations found.
The dedicated breaker, conductors, equipment connection, supports, enclosure, and charger are installed as planned.
We verify power, configure supported charger output, test operation, and explain the finished home charging setup.
A trip under load can point to a weak or incorrect breaker, loose connection, damaged conductor, incorrect output setting, ground-fault condition, charger fault, panel limitation, or vehicle-side problem.
Do not repeatedly reset the breaker. Read how we diagnose an EV charger that trips the breaker.
When a charger recognizes the vehicle and then faults, the problem may be in the circuit, charger, connector, settings, grounding, communication, or the vehicle itself.
See what it can mean when an EV charger turns blue and then red after being connected.
Turn off the charging circuit if it can be done safely and do not keep testing a hot outlet, plug, breaker, or charger. If other circuits in the home are also affected, our guide to a breaker that keeps tripping explains why repeated resets can hide a larger electrical problem.
Call 943-289-5667Kais Pro Repairs provides residential EV charger installation and electrical troubleshooting in Loganville and surrounding communities across Gwinnett and Walton counties.
Straight answers to the questions homeowners ask before scheduling a residential charging installation.
Cost depends on the distance from the electrical panel to the charger, panel capacity, circuit size, wiring method, indoor or outdoor location, charger type, and local permit or inspection requirements. A short route near the panel is usually simpler than a long run through a basement, attic, finished walls, or detached garage. Kais Pro Repairs provides free estimates based on the actual installation.
Not every home needs a panel upgrade. The answer depends on the panel rating, existing electrical loads, available capacity, panel condition, desired charging output, and whether an approved load-management option fits the equipment. Open breaker space alone is not enough to decide.
A 50-amp circuit commonly supports up to 40 amps of continuous charging, while a 60-amp circuit commonly supports up to 48 amps when the equipment and complete installation are rated for it. The better choice depends on the charger, vehicle, panel, wire, route, and how much charging you actually need overnight.
Hardwired chargers are often a strong choice for permanent installations and higher charging output. Plug-in chargers provide flexibility, but the 240-volt receptacle and circuit must be designed for long-duration EV charging. Neither option is automatically best for every home.
Yes. Kais Pro Repairs installs Tesla Wall Connector and Tesla Universal Wall Connector equipment, along with compatible Level 2 chargers from Emporia, ChargePoint, Wallbox, Autel, and other residential charging brands.
Residential Level 2 charging equipment normally requires a properly sized dedicated 240-volt circuit. The breaker, conductor size, wiring method, charger setting, and panel capacity must match the equipment and planned charging load.
A straightforward installation may be completed in one visit. Long wiring routes, finished-wall access, outdoor trenching, panel work, utility coordination, or permit and inspection requirements can extend the timeline. The site review determines the realistic schedule.
Send clear photos of the full electrical panel, the panel label and main breaker, the area around the panel, the charger model label, the parking location, and the likely path between the panel and charger. Include your vehicle model and desired charging speed.
Call or text Kais Pro Repairs with your charger model, vehicle, panel photos, garage location, and desired charging speed. We will help you plan the right Level 2 installation for your home.